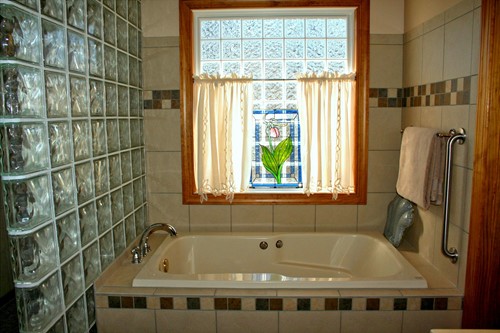
That bathroom tile once looked terrific, so newly laid contrast between tile and grout. You were so proud to show it off to all your guests.
But over time, grout becomes dull, stained and chipped. Tiles fade and look dated. When they do, it's time to refreshen or replace tile and grout.
If you love the tile, keep it. Refresh the grout to make that tile job look sparkling and new. If not, replace the flooring too. Here's how to refresh or replace tile and grout.
If also replacing tiles, you'll need:
And we're ready to do this!
First, put on your safety glasses. Now use your rotary tool or grout removal tool to loosen the grout between each tile. It should chip away and pull right out.
In either case, work slowly to avoid damaging your tiles. If at any point you feel you've taken on more than you can handle, contact a professional.
Mix your grout in a bucket. Then apply it using your margin float. Let it set for 10 minutes. Then clean the tiles with your moist sponge.
And you're done. Don't your re-grouted tiles look fantastic! It really is that simple. But what if you want to replace the tiles? You'll add some extra steps in front of mix and grout.
After removing grout as described above, use a hammer to break a tile to remove it. Be careful not to cut yourself. Now use the chisel to remove the remaining tiles. The floor scraper helps you crack and lift the adhesive underneath.
Here's a pro tip! Always place your tiles out dry to make sure they fit. Then make any adjustments.
This seems like a waste of time. But unless you've tiled hundreds of bathroom floors, adjustments are almost a certainty. And once you lay mortar, you'll have a limited time to work.
Apply a thin layer of your thin-set mortar to a small area using your trowel. Then lay each tile over it, evenly spaced. Press down gently but firmly.
After laying tiles in a small area, repeat and lay more tiles until all tiles are laid. Wait 24 hours. Then mix and apply grout as described above.
Enjoy your new floor! And follow our blog for more home maintenance and repair tips.

Meet Kimberly Jokela:
With a genuine passion in people Kimberly loves helping her clients make their real estate dreams or needs come to life! Specializing in Luxury, Vacation, Retirement or Investment properties.
Born and raised in the midwest in a family with a strong work ethic, filled with creativity & dedication.
Her determination lead her to attend college at the "Philadelphia Performing Arts" where she had the opportunity to follow her passion in the Arts & to travel. Living in California with her husband Rick for 15 years together they built a successful business. After the birth of her beautiful daughter Brittany, seeking a "small town” coastal lifestyle, they took a trip to Naples Florida & fell in love with all it has to offer and made the jump!
With now over 17 years experience as a licensed Realtor serving Naples, Bonita Springs, Marco Island, Estero & Fort Myers.
A great listener, negotiator & connector, Kimberly is dedicated to helping her clients looking to BUY their ideal Florida property!
Her warm & friendly personality is present in everything she does on her clients behalf!
Kimberly’s creativity & "out of the box" thinking gives her clients the extra leverage they need when SELLING a property.
Her well organized marketing includes professionally produced photography, video, drone imagery, media presentation in print, numerous online websites & social media!